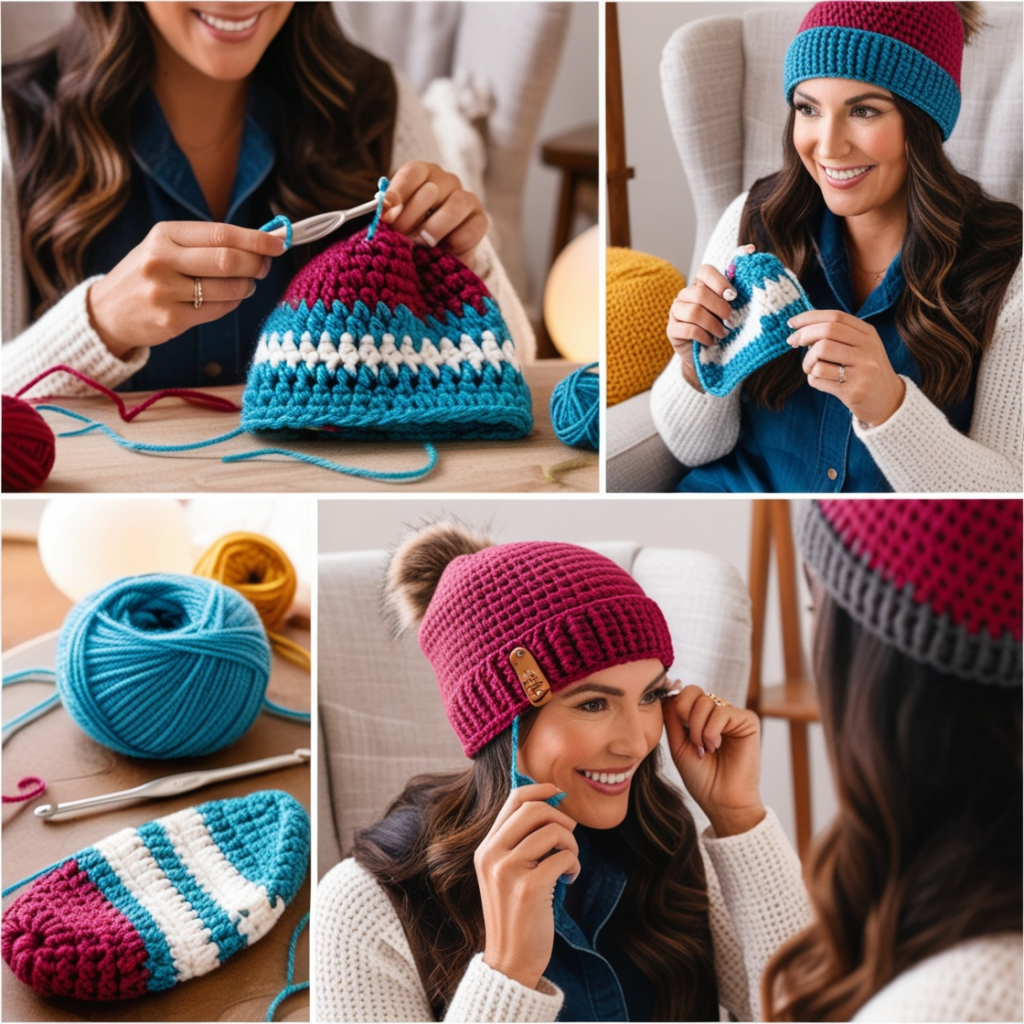
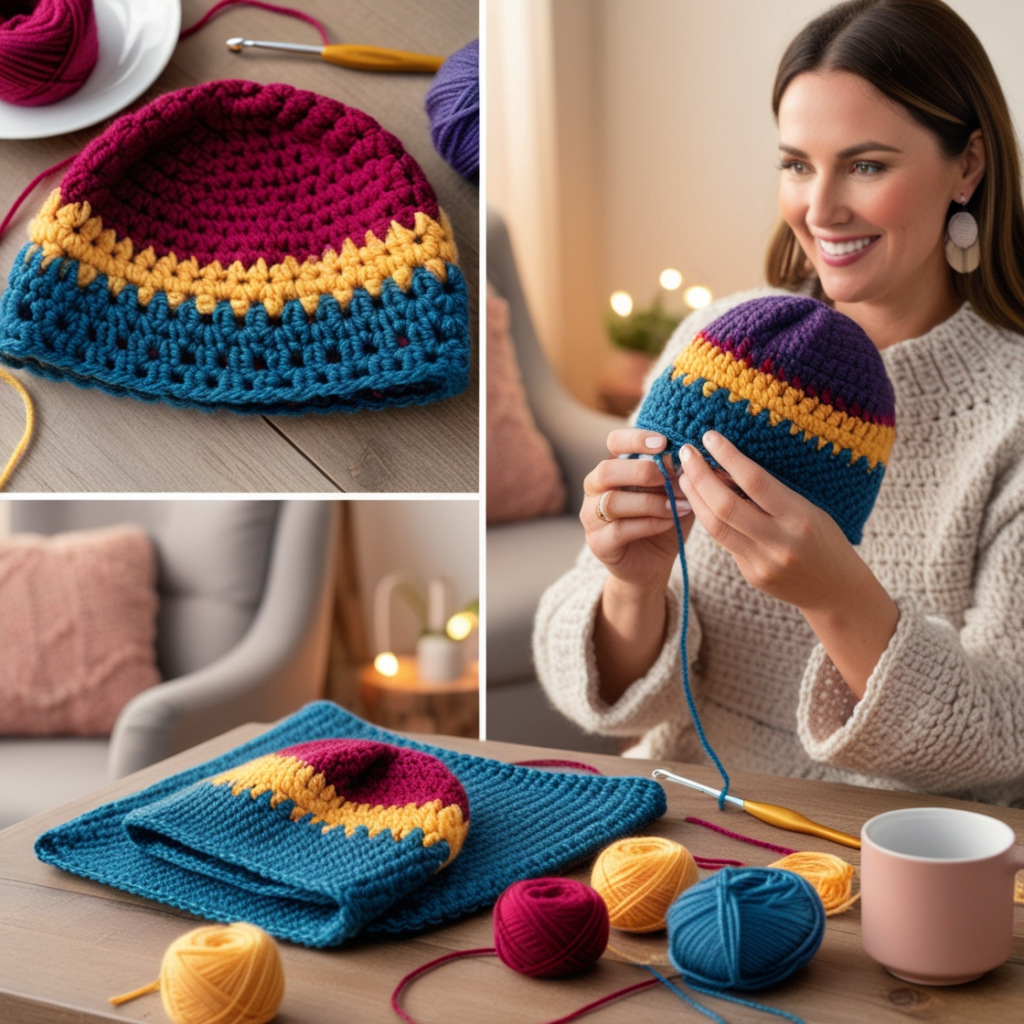
Crocheting is more than just a craft; it’s an expression of creativity and a way to create unique items that can be cherished or gifted. Imagine wrapping yourself in a beanie that you’ve made with your own hands—what a satisfying feeling! In this guide, you’ll discover a beginner crochet beanie pattern that will help you get started on your crocheting journey, whether you want to keep your head warm or make a thoughtful gift for someone special.
Table of Contents
Why Crochet Beanies?
Emotional Connection to Handmade Gifts
Handmade items carry a warmth and sentiment that store-bought products often lack. When you crochet a beanie, you’re not just crafting an accessory; you’re infusing it with love, care, and personal touch. Each stitch represents your time and effort, making the finished product more meaningful for you and the recipient.

Practical Benefits
Beanies are incredibly versatile. They can be worn in various seasons, styled in countless ways, and are suitable for all ages. Whether you’re looking for something to keep your head warm in winter or a stylish accessory for a chilly evening, a crochet beanie is an excellent choice. Plus, it’s a great way to use up leftover yarn from other projects!
Customization and Personalization
One of the best aspects of crocheting is the freedom to customize. You can choose colors that match your personality, incorporate patterns that reflect your style, and even add embellishments to make the beanie truly unique. This is your chance to express yourself!
What You’ll Need
Before diving into the crochet beanie pattern, let’s gather all the necessary materials. Having everything prepared will make the process smoother and more enjoyable.
Essential Supplies
- Yarn Types
- Worsted Weight Yarn: This is a common choice for beginners because it’s easy to handle and works up quickly. Look for yarn labeled as “medium” or “worsted weight” (Category 4).
- Bulky Yarn: If you’re looking for quicker results, bulky yarn (Category 5) is a great option. It’s thicker and can help you finish your project faster.
- Crochet Hook
- The recommended sizes vary based on the yarn you choose. A size H (5 mm) or I (5.5 mm) hook works well for worsted-weight yarn. Always check the yarn label for specific recommendations.
- Other Tools
- Scissors: A small pair of sharp scissors will help you cut your yarn cleanly.
- Yarn Needle: Use this to weave in the ends once your beanie is complete.
- Stitch Markers: These are optional but can be very helpful for marking the beginning of your rounds or specific stitches.
MaterialsDescription
Yarn Worsted or bulky yarn (100% acrylic recommended)
Crochet Hook Size H (5 mm) or I (5.5 mm)
Scissors Sharp, small scissors for yarn
Yarn Needle For weaving in ends
Stitch Markers are Optional but helpful for counting rows.

Choosing Your Yarn
Selecting the right yarn is crucial for your beanie-making journey. Here are some tips to help you choose wisely:
Texture Matters
The feel of the yarn is essential, especially since you’ll be wearing the beanie. Soft, cozy yarns like acrylic or cotton blends are great for comfort. Avoid scratchy materials that might irritate your skin.
Color Selection
Color plays a significant role in how your finished beanie looks. Whether you want something vibrant and eye-catching or a subtle, neutral tone, choose a color that reflects your personality or complements your wardrobe. If you’re unsure, look for colors that blend well together, and consider creating a striped pattern!
Budget Considerations
Crochet doesn’t have to break the bank! Many affordable yarn options provide excellent quality. Don’t hesitate to explore local craft stores or online retailers for sales and discounts. Just be sure to check the fiber content and weight for the best results.
Understanding Basic Stitches
To crochet your first beanie, you’ll need to familiarize yourself with a few basic stitches. Don’t worry if you’re new; this section will guide you through each one.
Slip Knot
The slip knot is the foundation of your crochet project. It’s how you start every crochet piece, and learning it will give you a solid start.
Chain Stitch
Chain stitching is another fundamental technique that you’ll use to create the initial foundation for your beanie. It serves as the base upon which you build your project.
Single Crochet (sc)
This stitch will form the main body of your beanie. Single Crochet is straightforward and creates a dense, warm fabric—perfect for chilly days.
Double Crochet (dc)
Double Crochet is slightly taller than single Crochet, allowing you to add height and a bit of open texture to your beanie. It’s a lovely stitch to incorporate if you want to add some style variations.
Stitch Demonstration
To ensure you’re comfortable with these stitches, consider watching tutorial videos that demonstrate each stitch in action. This visual aid can significantly enhance your understanding and technique.
The Beginner Crochet Beanie Pattern
Now that you have all your materials and understand the basic stitches let’s dive into the step-by-step instructions for crocheting your first beanie.

Step-by-Step Instructions
- Start with a Slip Knot
- Begin by creating a slip knot on your hook. This will serve as the first step in your beanie-making journey.
- Chain Stitches
- Create a foundation chain of 10-12 stitches, depending on the desired size of your beanie. Remember, you can always adjust this number as you gain experience.
- Join in Round
- Slip stitch to the first chain stitch to form a ring. Make sure not to twist the chain.
- Round 1: Single Crochet
- Work one single Crochet in each stitch around the ring. Join the round with a slip stitch to the first single Crochet. At the end of this round, you should have 10-12 single crochets.
- Round 2: Increase Stitches
- For this round, you’ll increase the stitches. Work two single crochets in each stitch around. You should now have 20-24 stitches.
- Rounds 3-10: Basic Stitching
- Alternate between single and double crochet stitches as desired. Continue this pattern until your beanie reaches the desired height (typically 8-10 inches from the top).
- Finish Off
- Once you reach the desired height, cut your yarn, leaving a tail long enough to weave in later. Pull the yarn through the last loop to secure it.
Tips for Success
- Count Your Stitches: Keep a close eye on your stitch count to avoid any uneven sections. Counting ensures your beanie will fit properly.
- Use Stitch Markers: If you’re working in rounds, using stitch markers to mark the beginning of each round can help you stay organized.
Common Mistakes to Avoid
As a beginner, it’s natural to make mistakes, but being aware of common pitfalls can help you avoid frustration.
Tension Issues
Maintaining consistent tension is crucial. If your stitches are too tight, your beanie will be uncomfortable and too loose, and it may not keep its shape. Practice makes perfect, so don’t get discouraged!
Skipping Stitches
Counting is key. If you lose track of your stitches, your beanie may end up misshapen or too small. Always check your work periodically.
Not Weaving in Ends
Once your beanie is complete, take a moment to weave in any loose ends. This will prevent your work from unraveling and give it a polished look.
Personalizing Your Beanie
One of the best aspects of crocheting is the ability to personalize your creations. Here are some ideas to make your beanie unique:
Adding Embellishments
- Pom Poms: A fun addition to the top of your beanie. You can easily make a pom pom with yarn and attach it for a playful touch.
- Brim Styles: Experiment with different brim styles, such as a folded brim for a classic look or a straight style for a more contemporary feel.
Colour Variations
Consider using multiple colors to create stripes or patterns. Changing colors every few rounds can result in a beautiful, eye-catching beanie.
Frequently Asked Questions (FAQ)
Q1: What is the best yarn for a beginner crochet beanie pattern?
A1: Worsted weight yarn is highly recommended for beginners due to its ease of handling and versatility. It’s widely available and comes in various colors.
Q2: How long will it take to complete my first beanie?
A2: On average, a beginner can finish a beanie in a few hours to a day, depending on practice and how quickly you learn the stitches.
Q3: Can I make a beanie without a pattern?
A3: Yes! Many beginners experiment with simple shapes and techniques. As you gain confidence, feel free to create your designs.
Q4: What should I do if my beanie is too tight or loose?
A4: If your beanie is too tight, consider adjusting your tension and using a larger hook. If it’s too loose, try using a smaller hook size for a better fit.
Conclusion
Congratulations on taking the first step toward crocheting your beanie! This journey is filled with creativity, personal expression, and the joy of crafting something truly unique. By following this beginner crochet beanie pattern, you’ve not only learned how to crochet but also discovered the satisfaction of creating something special with your own hands.
Now it’s your turn! Gather your materials, find a cozy spot, and start stitching. Don’t forget to share your creations with friends and family or even on social media—your journey might inspire someone else to pick up a crochet hook! Happy crocheting!

